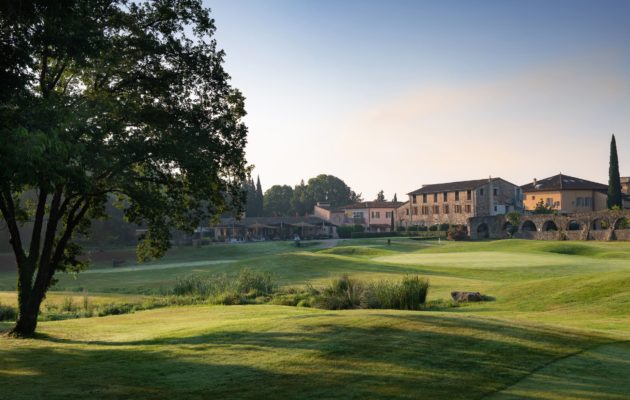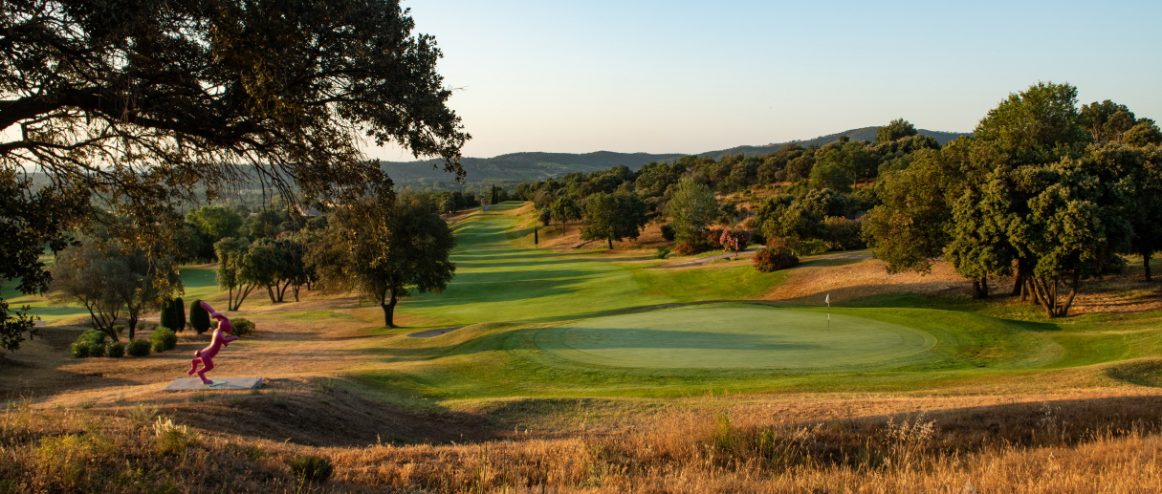
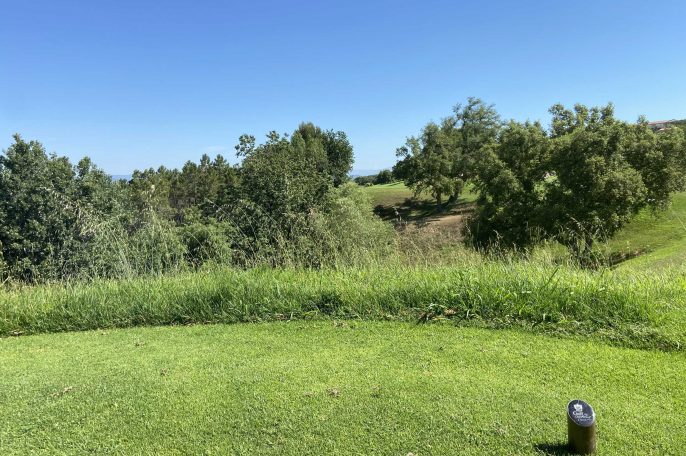
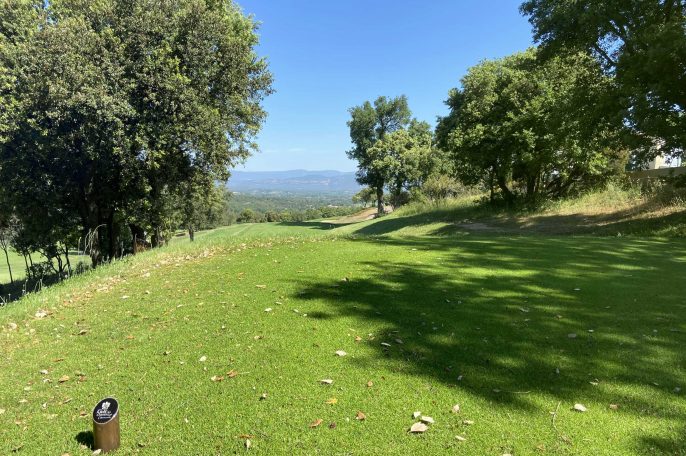
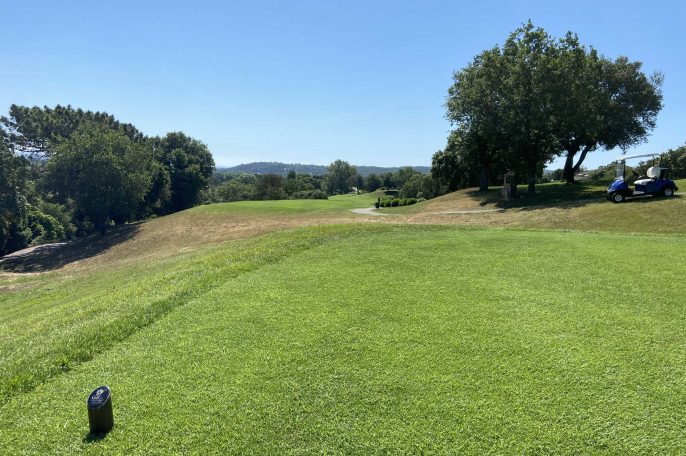
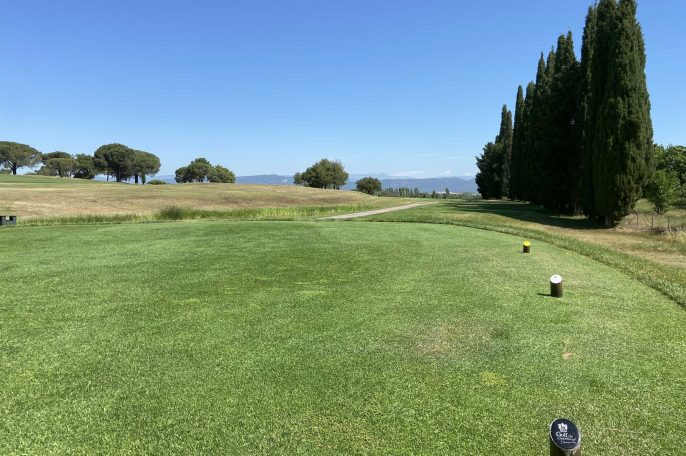
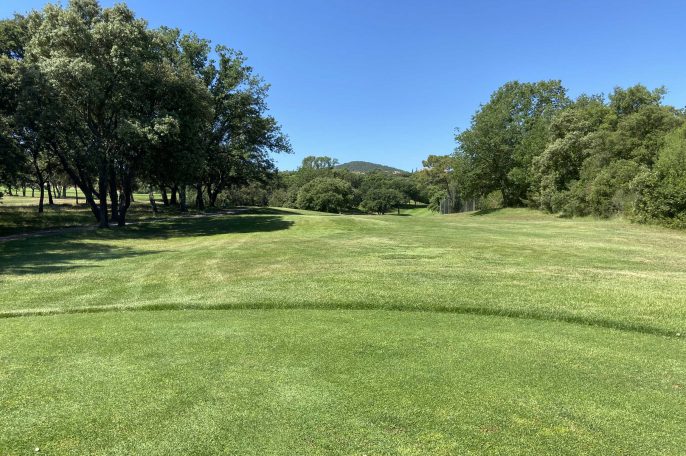
The 18-hole golf course in Roquebrune-sur-Argens boasts spectacular views
Golf de Roquebrune - 18 holes
Set between the Massif d’Esterel, the Massif des Maures and the bay of Fréjus-Saint-Raphaël, the views from the Golf de Roquebrune golf course are simply stunning
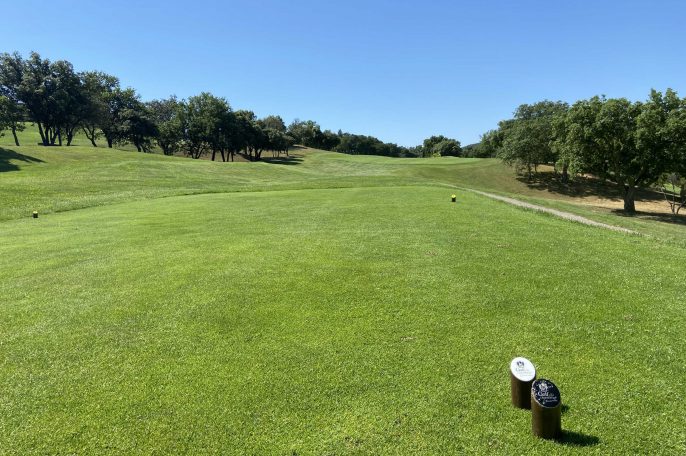
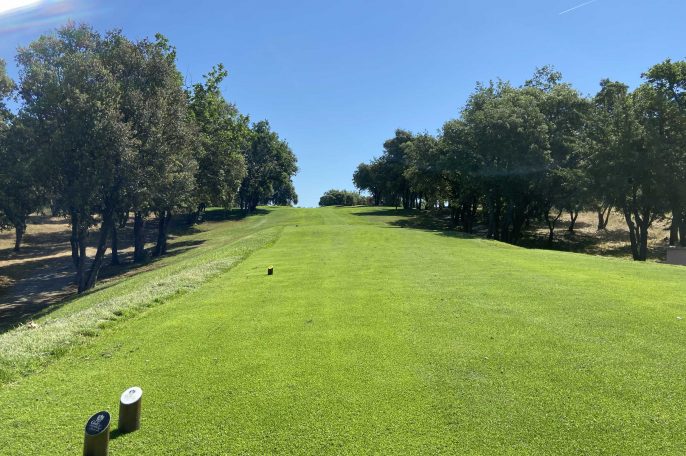
The golf course in details
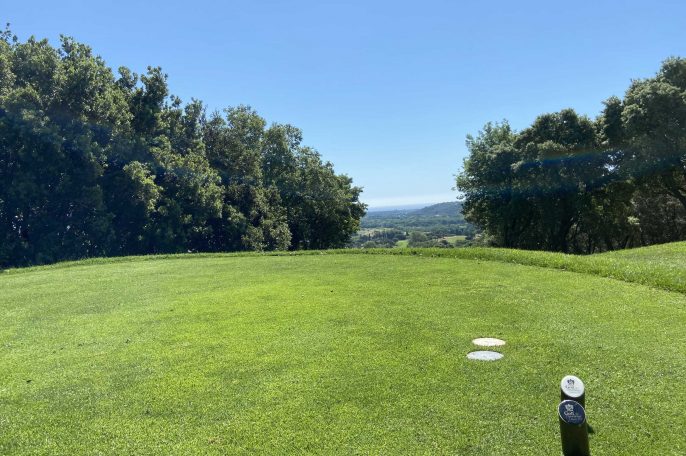
Hole n°1

- PAR 4
- PAR 323
- PAR 317
- PAR 286
- PAR 280
Coach's Advice
Line up your first shot to the left to avoid the fairway slope. Don’t leave yourself with a downhill putt.
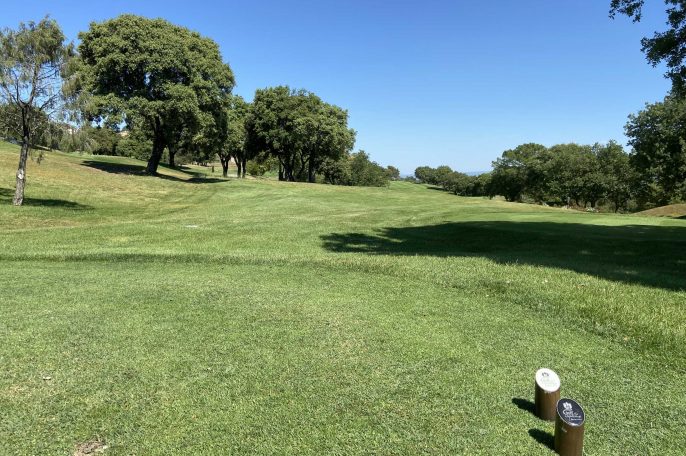
Hole n°2

- PAR 4
- PAR 348
- PAR 316
- PAR 302
- PAR 272
Coach's Advice
Draw your tee shot to the left (the right is out of bounds) and attack the green on the right side. Do not overshoot the green.
Hole n°3
- PAR 4
- PAR 340
- PAR 331
- PAR 324
- PAR 304
Coach's Advice
Open up the angle of the green by lining up to the left at the tee.
You don’t necessarily need a driver.
Hole n°4
- PAR 3
- PAR 202
- PAR 181
- PAR 121
- PAR 112
Coach's Advice
Out of bounds on either side. A bold tee shot will get you a bogey.
Hole n°5
- PAR 5
- PAR 436
- PAR 431
- PAR 416
- PAR 399
Coach's Advice
Play the hole on the right side of the fairway.
Then play to the middle of the green no matter where the flag is located.
Hole n°6
- PAR 4
- PAR 344
- PAR 334
- PAR 299
- PAR 276
Coach's Advice
It’s better to hit a draw off the tee.
Aim for the top of the flag on your second shot.
Hole n°7
- PAR 4
- PAR 405
- PAR 378
- PAR 361
- PAR 323
Coach's Advice
Good players can play the dogleg from the right.
Attack the right-to-left sloping green from the right.
Hole n°8
- PAR 3
- PAR 126
- PAR 119
- PAR 112
- PAR 97
Coach's Advice
Play to the middle of the green, which is wider than it is longer.
Do not miss left.
Hole n°9
- PAR 5
- PAR 458
- PAR 411
- PAR 394
- PAR 363
Coach's Advice
Watch out for the water hazard in the middle of the fairway, 300 metres from the tee. Do not overshoot the green on your third shot.
Hole n°10
- PAR 4
- PAR 357
- PAR 341
- PAR 310
- PAR 277
Coach's Advice
A large green with a double plateau.
Feel free to overclub when attacking the green.
Hole n°11
- PAR 5
- PAR 500
- PAR 454
- PAR 443
- PAR 418
Coach's Advice
Play it safe on your second shot and then attack the green from the right.
Hole n°12

- PAR 3
- PAR 208
- PAR 176
- PAR 170
- PAR 151
Coach's Advice
Feel free to play a little to the left to avoid the out of bounds on the right.
Hole n°13
- PAR 4
- PAR 341
- PAR 335
- PAR 302
- PAR 295
Coach's Advice
Don’t go for the green with a wood: the ball risks rolling and ending up in the water hazard behind the green.
Hole n°14
- PAR 4
- PAR 363
- PAR 349
- PAR 308
- PAR 287
Coach's Advice
Play for bogey by carefully placing your second shot at the bottom of the green.
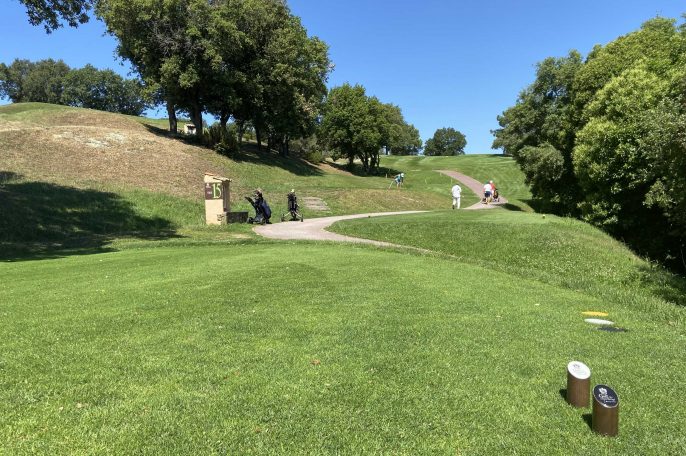
Hole n°15
- PAR 3
- PAR 127
- PAR 127
- PAR 122
- PAR 110
Coach's Advice
Aim for the back of the green and overclub, as the green is raised and slopes uphill.
Hole n°16
- PAR 5
- PAR 462
- PAR 448
- PAR 388
- PAR 342
Coach's Advice
Par 5 with a water hazard to get over on your second shot. Uphill green. Aim for the right-hand mound with your tee shot.
Hole n°17
- PAR 4
- PAR 276
- PAR 276
- PAR 270
- PAR 258
Coach's Advice
How you hit your tee shot is up to you, but look out for the mounds and bunkers on the right.
Hole n°18

- PAR 3
- PAR 165
- PAR 149
- PAR 137
- PAR 102
Coach's Advice
Get over the lake with your tee shot.
Nearby Resonance Golf Collection golf clubs